
After the neighbors reinvigorated their large mid-century modern front yard planter, the bride expressed a desire to have flowers in the front yard of our own. But what to plant them in?
I've been intrigued by board formed concrete, so I immediately yelped "Let's build a board-formed concrete planter!"
The history of board-formed concrete in Modern architecture seems to go back to Le Corbusier (and Auguste Perret before him, although he was a proto-modernist) who coined the term béton brut--a French term that means "raw concrete". Corbu's later phases employed oodles of raw concrete, perhaps trying to tap into the "honesty of materials" tenet of Modernism, something he lacked in his early work (and I won't note that Schindler [and Irving Gill before him, although he painted his crete] used raw concrete in the Schindler-Chase House built in 1922). Later, the use of raw concrete in Modern architecture was named "Brutalism", a term that many erroneously believe refers to the spirit of that architecture (which is, indeed, in many cases, brutal).
Back to the flowers...
Based on some observations (when our slab was poured), a couple articles, and seat-of-the-pants Aggie engineering, I endeavored to construct a Brutalist concrete planter for the bride. Let's start, shall we?
Step 1: Size your planter (and test the size and lcoation)
After an initial assessment of placement and what I thought would look good [off the driveway across from the sidewalk entry; width of the sidewalk; concrete to evoke the existing foundation; height to avoid [most...] car doors), I used some wood to make the footprint of the planter and "tested it" in-situ.

The "footprint" box.

No! No! Not a cat box!!!

Here's where it goes...

And here's how it relates to the entry sidewalk. Looks good!
Step 2: Build the form
With the box properly sized, I then cut up the required number of pieces and then screwed them together. I used screws because I want to carefully take the form apart to reveal the concrete behind it. If you do a more complicated design, think about how you will take the form apart. You don't want to crack your crete when removing the form. If you design your forms carefully, you can use them again (and again). I used small width cedar boards to get some thinner board imprints in the concrete. Do what you prefer, but note that smaller pieces require more pieces and therefore more work.

There's all the pieces.

I used this fancy thingamajigger to hold the corners square while I drilled pilot holes and screwed them together.

I used drywall screws for the screws.

When putting your box together, pay attention to which side of the boards you use. I used the smoother side. Some folks prefer the rougher side. Others sandblast the wood a bit to reveal more grain before placing them in the form.

And here's the outside form fully (ahem) formed.

The edges don't line up perfectly, which is exactly what I'm going after. A freeze frame of human and material imperfections...
Since this is a planter, I also needed to create a form for the inside. To save a few bucks (and since it doesn't matter what the inside looks like in this case) I used 2 by 4s. Also, note that I added vertical boards to hold the "board frames" together.

A box in a box!
Step 3: Place the form
Place the form in the final location for the planter. Using a level, I leveled the form and placed rocks under the form to achieve the proper height. I then placed rocks all around the gaps at the bottom to keep the concrete in the form.

Form placed.
Step 4: Pour the concrete
I then mixed up a bag of concrete (it took a bag and a half for the whole project) and troweled it into the form, careful to make sure I wasn't leaving any large air gaps.


Slowly and evenly I worked around the form until I reached the top. I then used a palm sander on the outside of the form to get the concrete to settle and work out any air bubbles (works quite well! You can tap with a hammer, but a palm sander or a Sawz-All [with no saw] works great!). I then smoothed out the top and let the concrete cure.


Step 5: Round the edges
After an hour or so and after the concrete was kinda solid but still "plastic", I used a putty knife to round out the edges along the top. This prevents a sharp edge from forming and looks quite a bit more professional.


Step 6: Allow to fully set and dry
The amount of time will depend on weather and whatnot, but allow the cement to dry. I waited a week before messing with the project.
Step 7: Remove the form
Carefully remove your form. If you planned out your form properly, it shouldn't be too much work (and feel like Christmas morning!). I then let the concrete sit another week to dry.

Two down, and a lot to go...

You can see the wabi-sabi of the board forms (and some air bubbles I failed to work out...).
Step 8: Plant and enjoy
I lined the inside of the planter with heavy plastic so as to keep the moisture in the soil and not wicking away into the concrete. After planting, I opened up a cold one. Corbusier would be proud!


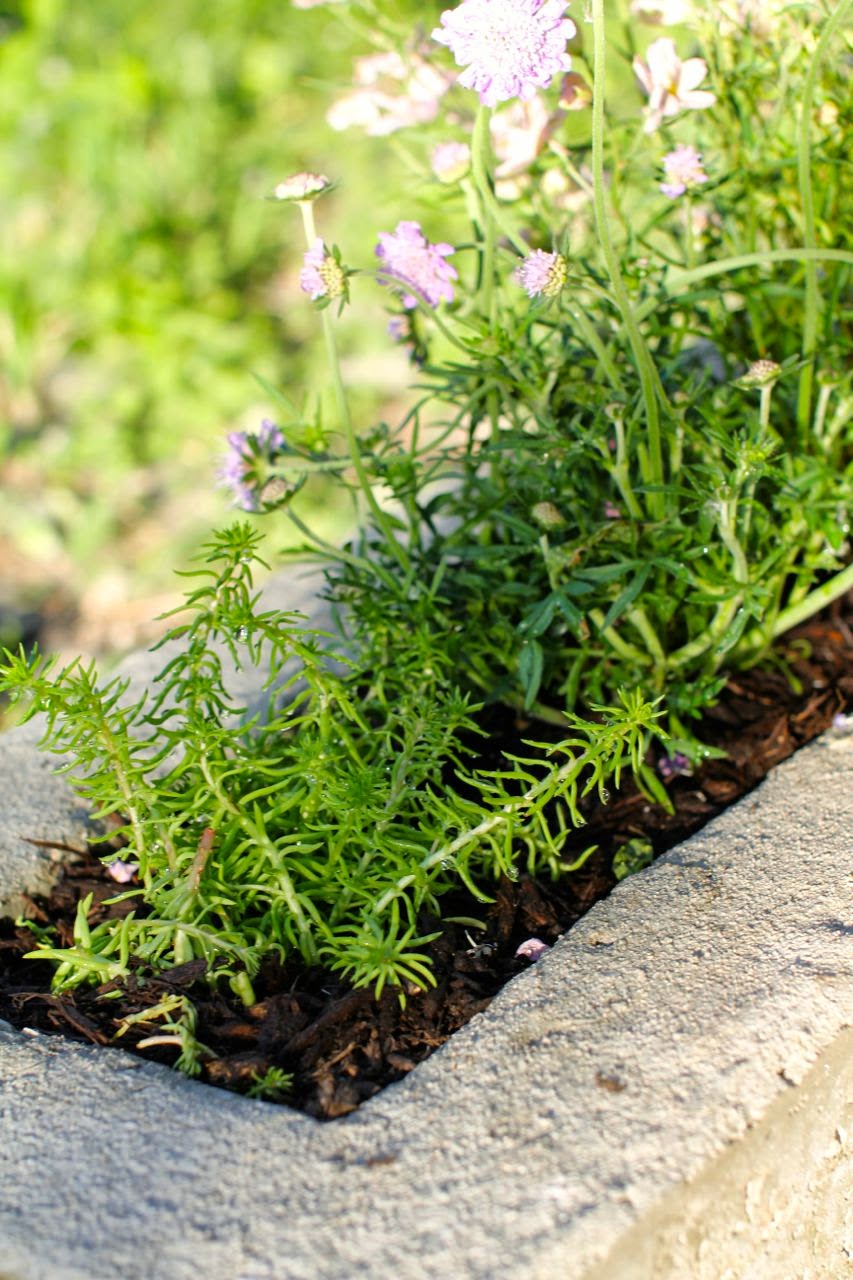


Cool!
ReplyDelete